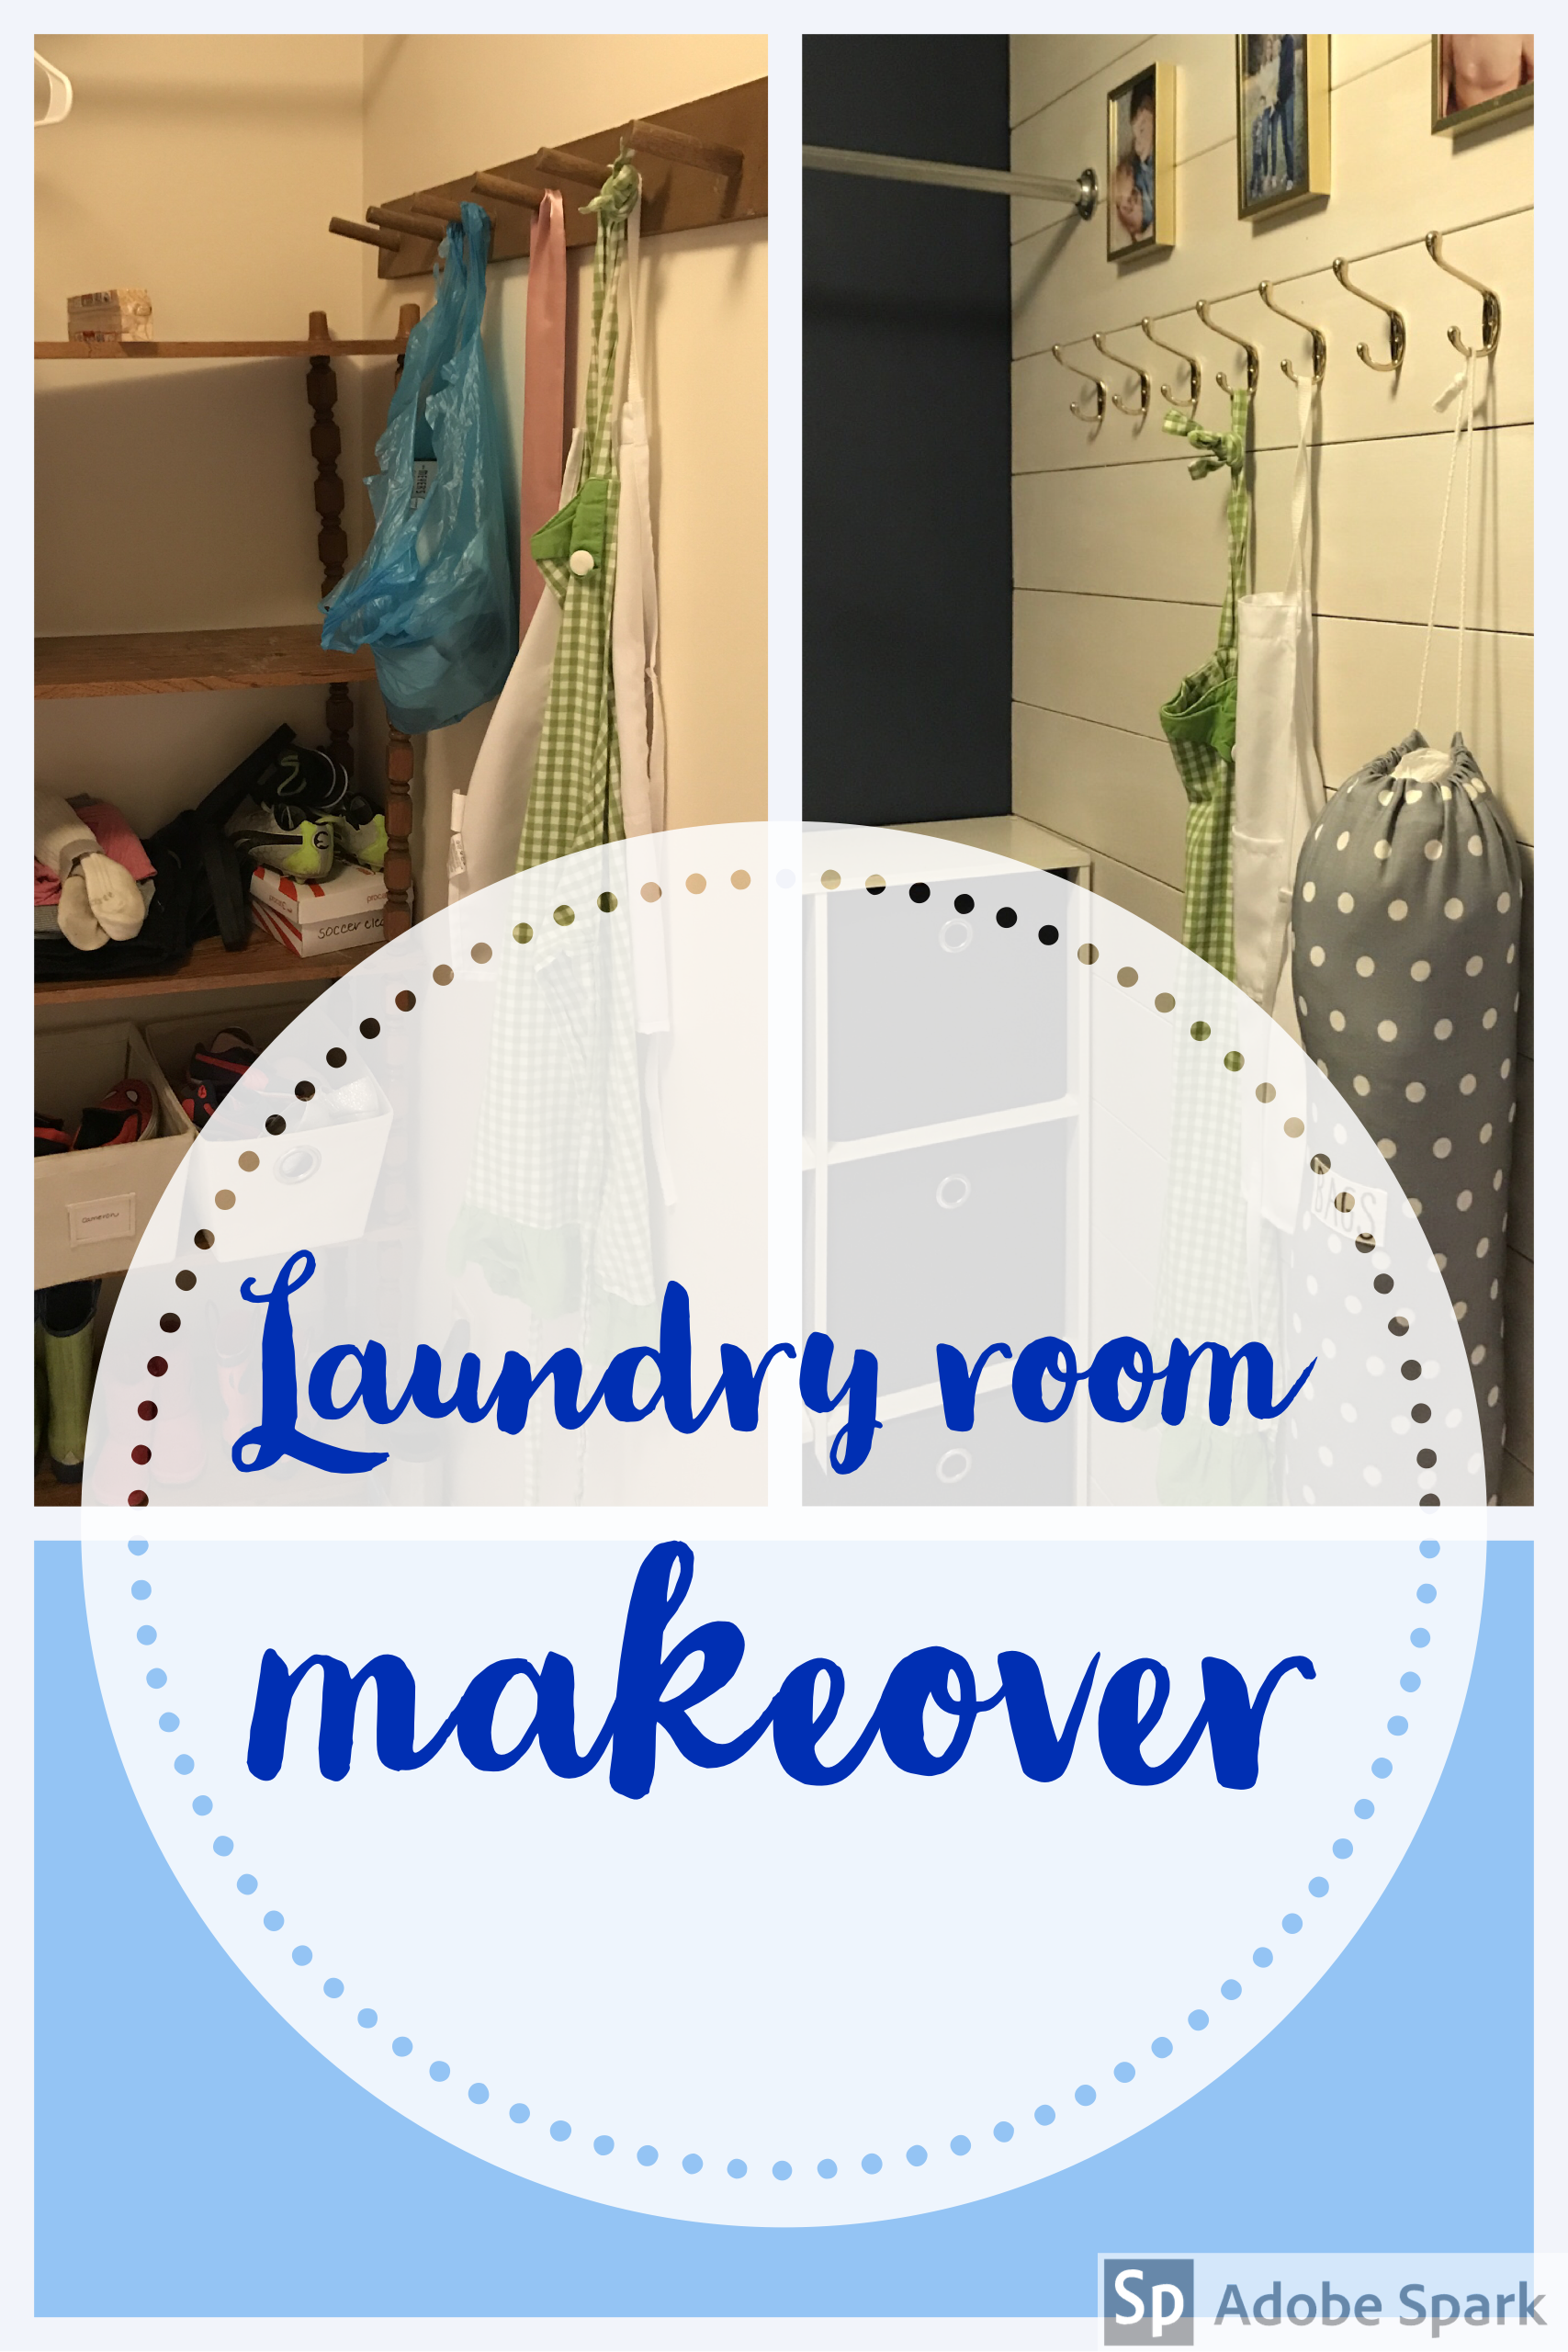
Cameron's room
Our boy's room has had a few transformations.
It took some time and elbow grease to make it here. Look at what we started out with below.
This is what C's room looked like when we looked at the house. Not our style.

T taking down the wallpaper border.
Then we painted the trim (not fun) and the room a more appropriate color for Cameron. He was only three years old when we moved in. We still had the "Hungry Caterpillar" theme going strong. Those were fun days and I loved that theme.
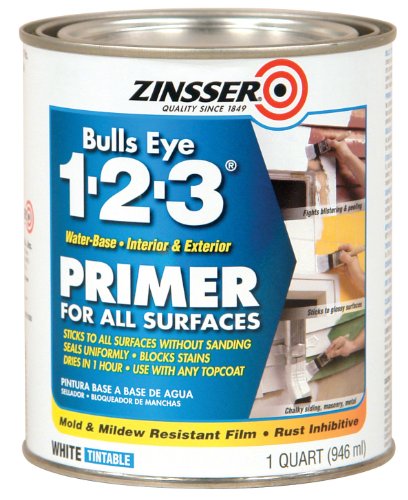
Painting trim: I would recommend two coats of primer found here. There is a photo below as well. I would recommend using an oil based paint in the color of your choice. The white we always use I cannot find a link for, but here is what you need: oil based and stark white. Don't mess around with antique white on trim. We always get the kind with the gloss since it is easier to clean. Latex paint does not work on trim. Learn from our mistakes.
I also love to decorate the whole house for Christmas. I even get into holiday themed sheets. I got these Grinch sheets from Pottery Barn kids for Cameron in 2014. I could not wait to get Madeline a real bed so I could get her a Grinch duvet cover. I am slightly obsessed with Christmas.


As Cameron got older I noticed that he was outgrowing the Caterpillar theme. So we recently updated his room to include some of his current interests. He is obsessed with space. I didn't want to paint again because I love the green color, but it needed to fit his age. I also wanted to ditch the bulky old Ikea shelves. (No offense to Ikea - I love Ikea.) It just didn't really jive with the style of this room any more.
The first thing I had to do was to get my new kindergartener a desk. I am a fan of painting furniture myself, but I found this at a local resale store.

Rustic inspired above the desk shelves


Old Ikea shelf on its side, ready to be hacked.
Next we needed some shelves for this desk. I liked the rustic look and I wanted lots of space for him to grow into. We made these out of pipes to have a rustic look. Here is the type of pipe we used. They are 12 inches long and we used the corresponding connecting piece to screw it into the wall.

I really like how much space we created. (The shelves still need to be stained!) I love how open they feel. I am not sure if I would do it the same way again or if I would do it like the shelves we built where we didn't have to screw into the wall as much.
Next I wanted to recreate that feel with some actual shelves. I wanted to move those bulky shelves with something more open.
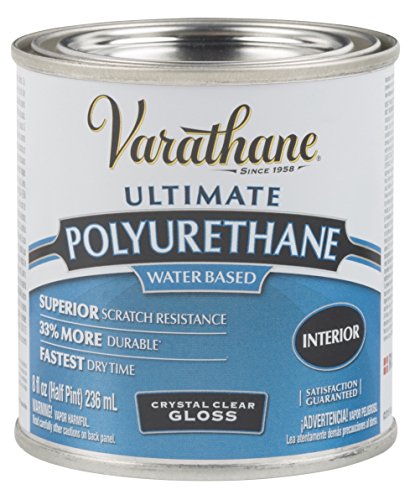
We did keep on of those Ikea shelves in here and performed a little hack on it. We painted it white (it was formerly coffee colored), then we sanded and stained a piece of plywood and added it to the top. We used the same poly for this that we had used on our plank plywood hardwood floors. It's really a solid product and holds up well to the rough and tumble of kiddos. You can find it here.
We used regular old pipes to make the shelves. Then we used 12 inch boards and just placed them on top. They still need to be stained but we have left that for another day.
The top of the shelf with the poly coating.
Closer look at the shelf
T did these shelves a little differently than the above-desk shelves. Rather than drilling so many holes in the wall, he just anchored them at the top and then into the shelf. If you look at the connecting pipe pieces, you can see that they are not separately drilled into the wall. They are plenty sturdy there the way they are.
If you are not up for the work of this particular shelf, or you don't need it to be customized like we did, you can always just buy one on Amazon! I found a great one here.
The boards still need to be stained so this is not quite done yet. I love these because they have that "Restoration Hardware" look. My boy needed something special for his room. I really like how this shelf doubles as a seat for us when we read bedtime stories, or as a place for a night-light, some stuffed friends, or a book.
.