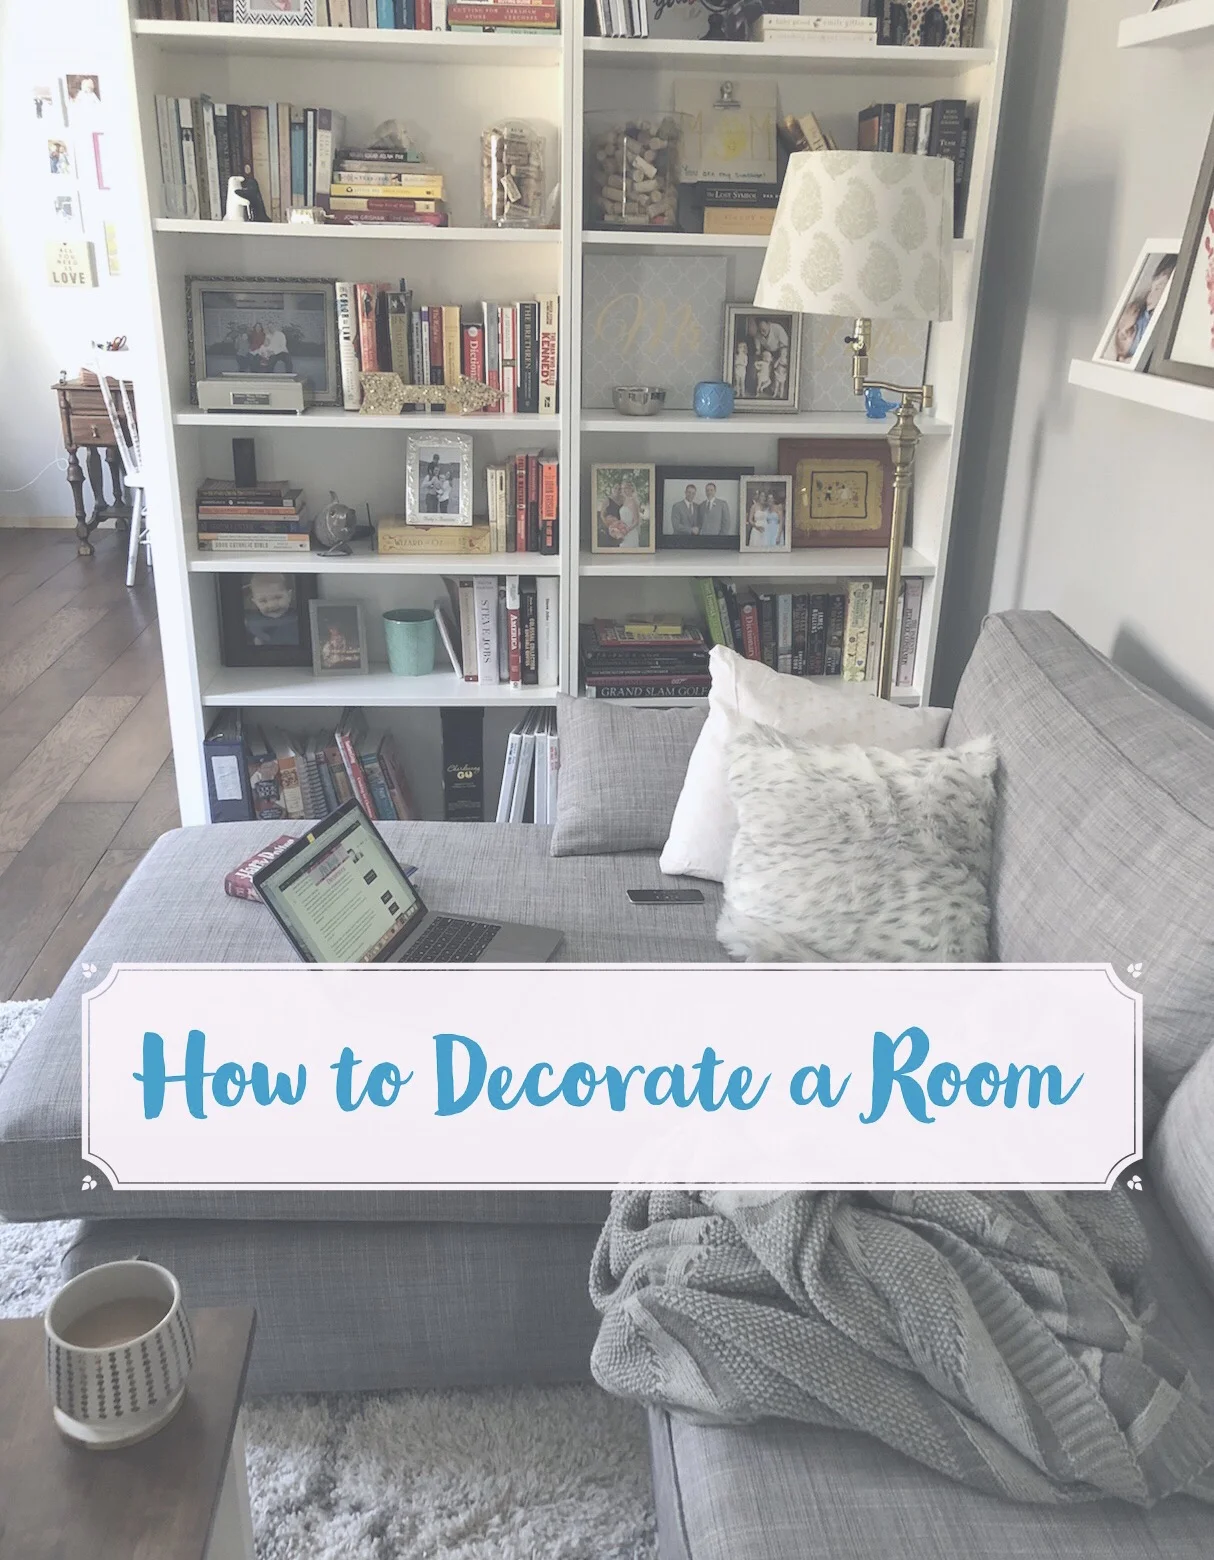
How to make a gallery wall
We have a few gallery walls in our home. It is an excellent way to hang a bunch of photos or other items that you would like to display. I always liked the idea, but I wasn't sure how to execute it without it looking like complete chaos and trash.
To make them each look fun but also neat, I followed these five simple steps to achieve a great gallery wall that doesn't look like a disorganized mess.
Note: My floors are another DIY project! If you like them, checkout how we did them here!
Step One: Establish a theme
This is what is going to tie it all together. For example, in my kids' play room the theme is "fun kid stuff." It is that simple. Just fun things that exemplify my kids and family. It is extremely colorful and fits the general theme of the room, colorful and full of kid stuff.

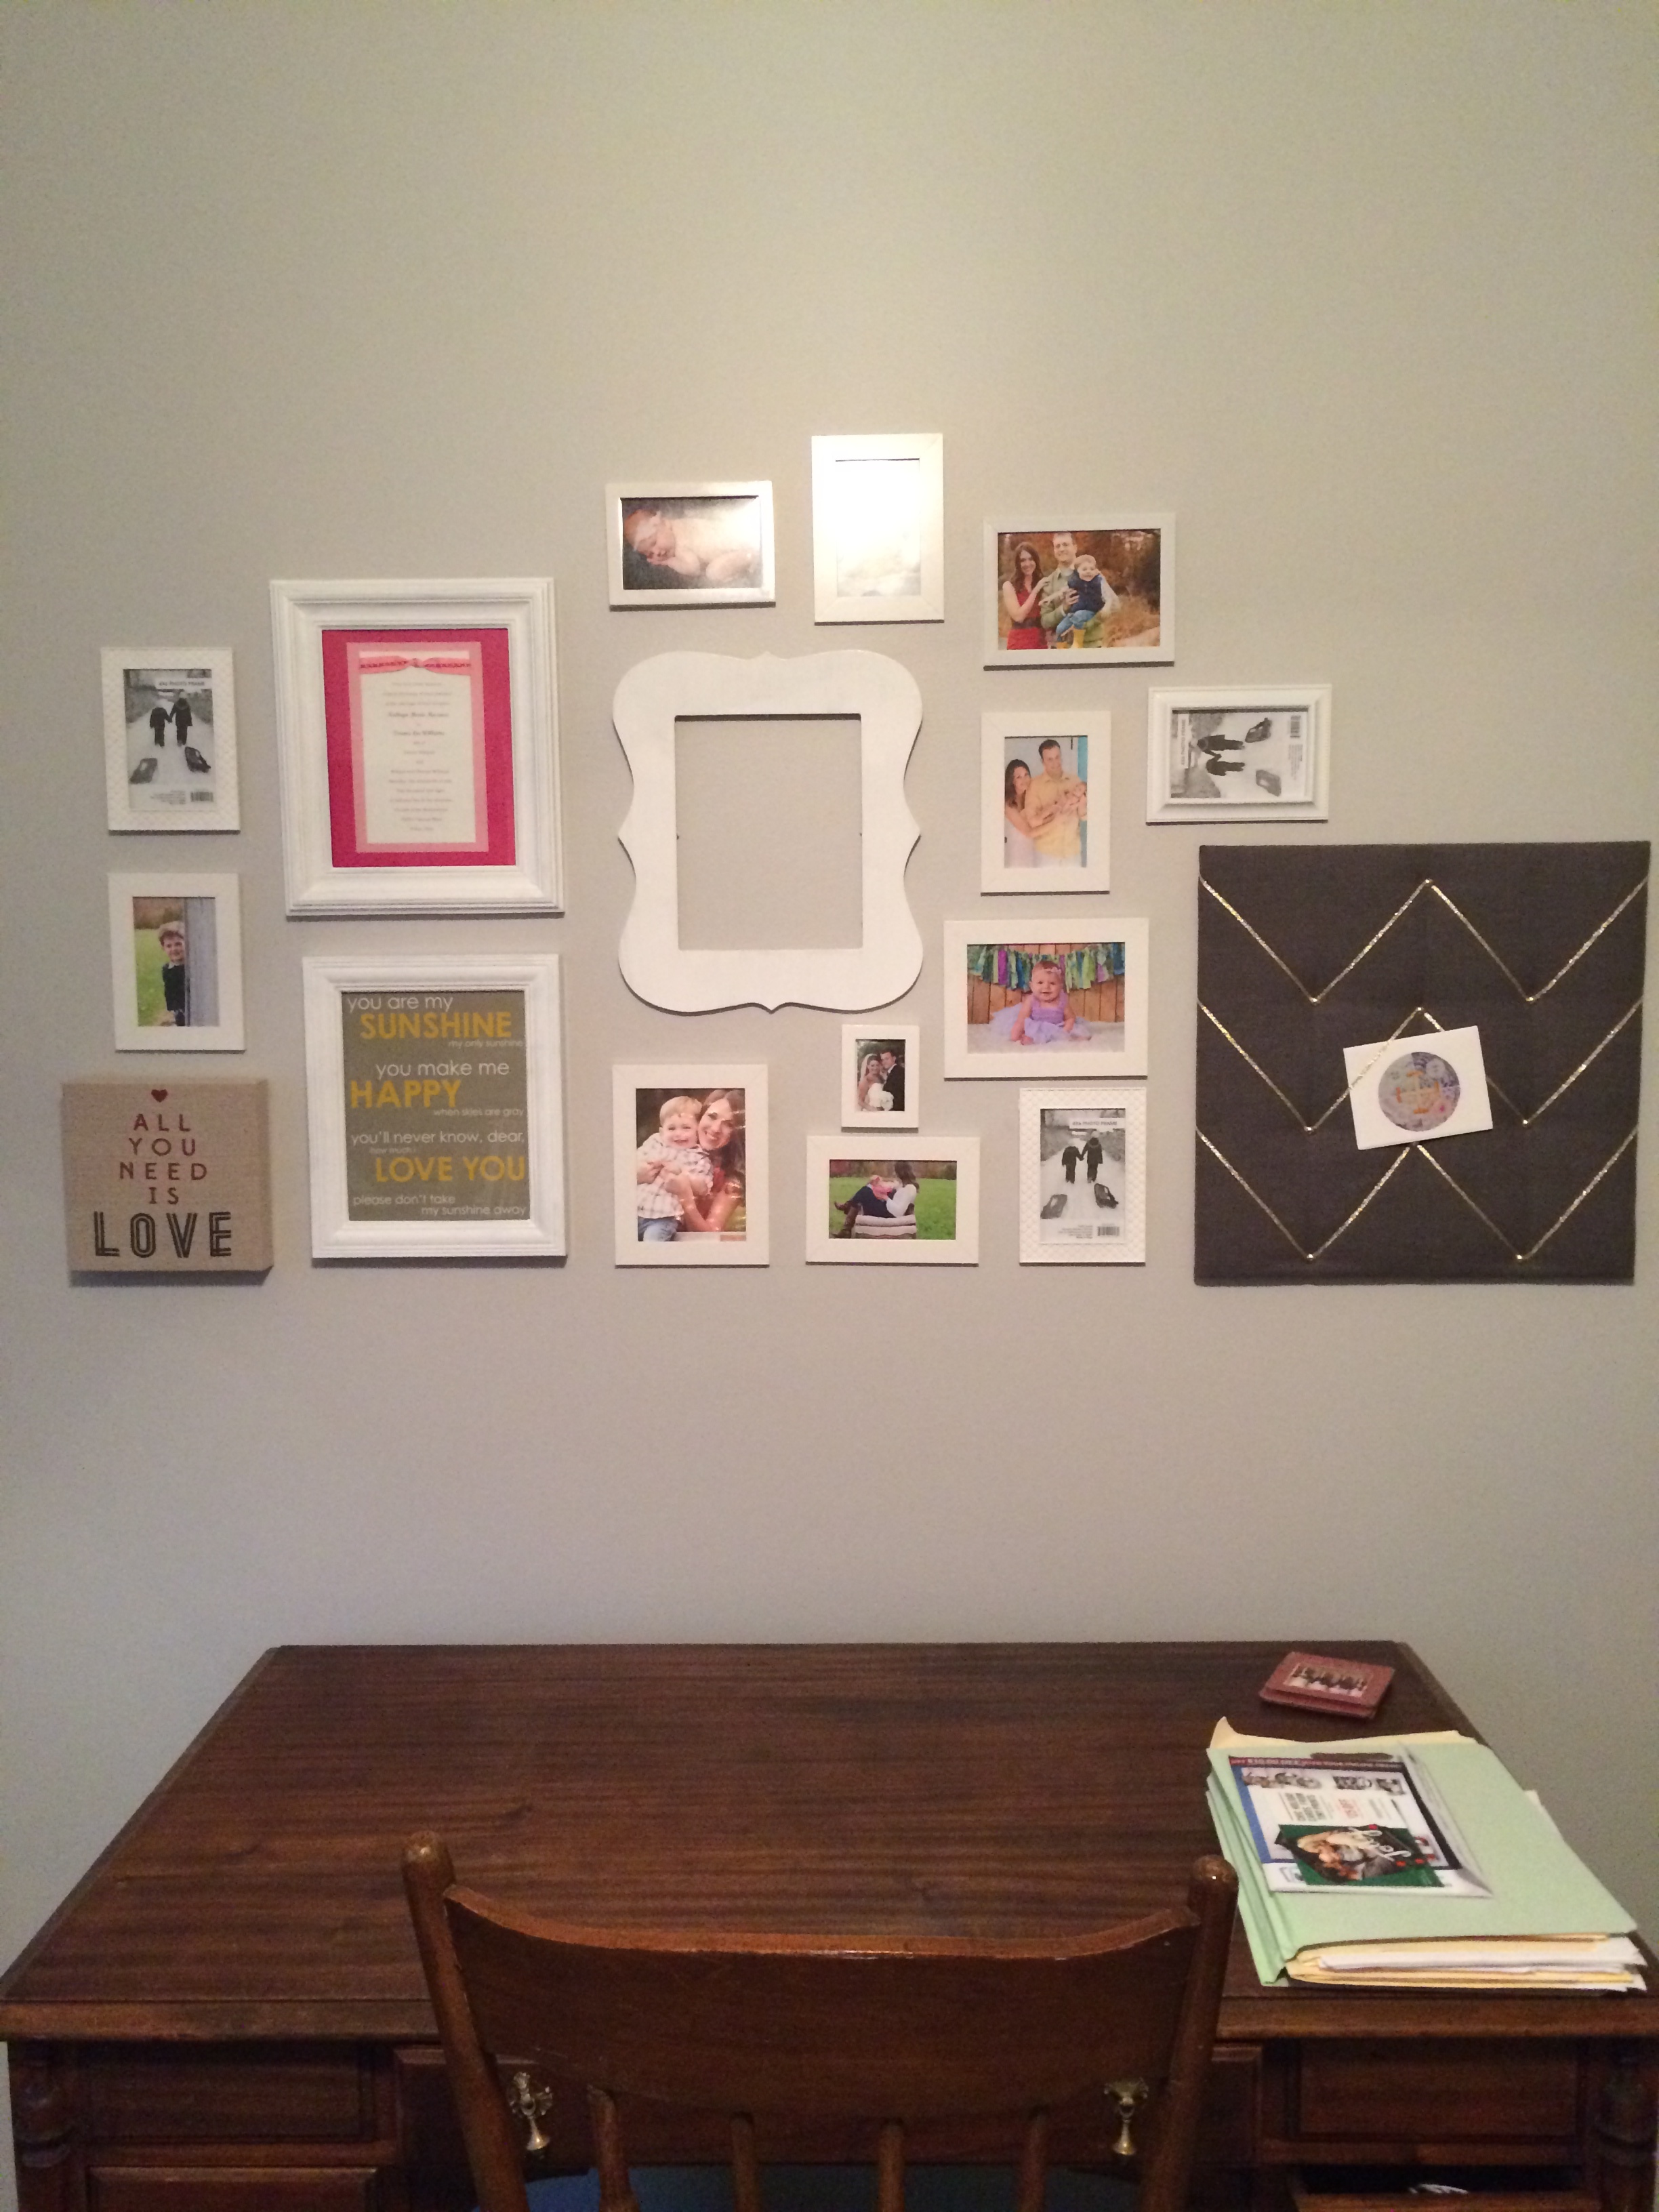
On the other hand my office is different. I wanted a more sophisticated and polished look. I decided that I wanted the frames to all be white, and that I would add a few other neutral tones and a pop of gold. This generally flows with the decor I have in the family room, which is the room that flows into the office I have.
What kind of a theme should you pick? It depends on the look you are going for. Are you displaying family photos or photos of vacation destinations? Here are some ideas to get you going. All black and white photos, famous cities, landscapes, photos of something in a particular color (like green or pink) on a white background, photos of musical instruments, framed album covers, framed Playbills from great musicals (I actually have one of these that I forgot to mention!), the list is endless!
There are so many ways to display your treasures and give your home a personal touch.
Step Two: Find your frames
This is the fun part. Frame those old photos. Head down the craft aisle in Michael's or Target and get some cheap wooden frames that you can paint any color you want. Or, if you're like me, whip out a can of spray paint and paint all of those random photo frames that are in a box because they no longer match with anything.
As you can see in the photos of my gallery walls, I don't just use frames and photos. I picked up a few odds and ends at Target, I painted some Seuss-like paintings on canvas, I framed a few photos, and I also framed a few gifts and other treasures.
I keep adding to both of these walls and that makes it fun and interesting!
Step Three: Baseline

This is what will keep your gallery wall from looking like a disorganized mess. Line them all up from some point. I chose to use a line on the bottom. You could use a line from the side, or a line on top, or a line running right through the middle.
The point is, there needs to be some kind of order so it doesn't look like a mess.

To achieve this we just drew a line on the wall with pencil. We used measuring tape to make a few dots at equal distances from the floor. Then we used the measuring tape to draw a straight line between the dots with a pencil. The line is very faint and I have noticed that I can still see it in my office. I probably should erase that one of these days.
Step Four: Plan it out

If you can ignore the horrid blue-ish carpet that was previously in our office for a few minutes, you will see that we planned out exactly where each item on the gallery wall would be placed. We did this by using wrapping paper, tracing the frame, then cutting it out and taping it to the wall.
This way, you can put a tiny dot on the wrapping paper where the hanging apparatus is on the frame. You can just put a nail in the wall using the wrapping paper as a guide and get them hung in the right place.
We actually omitted this step when we did the gallery wall in the play room.
Step Five: Hang!
Yay! This is where you see your project into fruition. Hang your photos and treasures and step back. Straighten them out. You made a great looking gallery wall!
The photo above is from the day we set ours up. The great thing about this is that we have added to it over the past few years as we have had more great photos to put up.
Also, if you like my professional photos, you definitely need to check out my awesome photographer, Jules White Photography.

Here is my gallery wall today! I hope you are able to follow these steps to set up your own gallery wall. I have so many ideas for these babies, but not really the space to set them all up in my home.
If you're local reach out to me and I'll help you design one of your own!