DIY Shiplap
Shiplap: the fun and trendy home update!
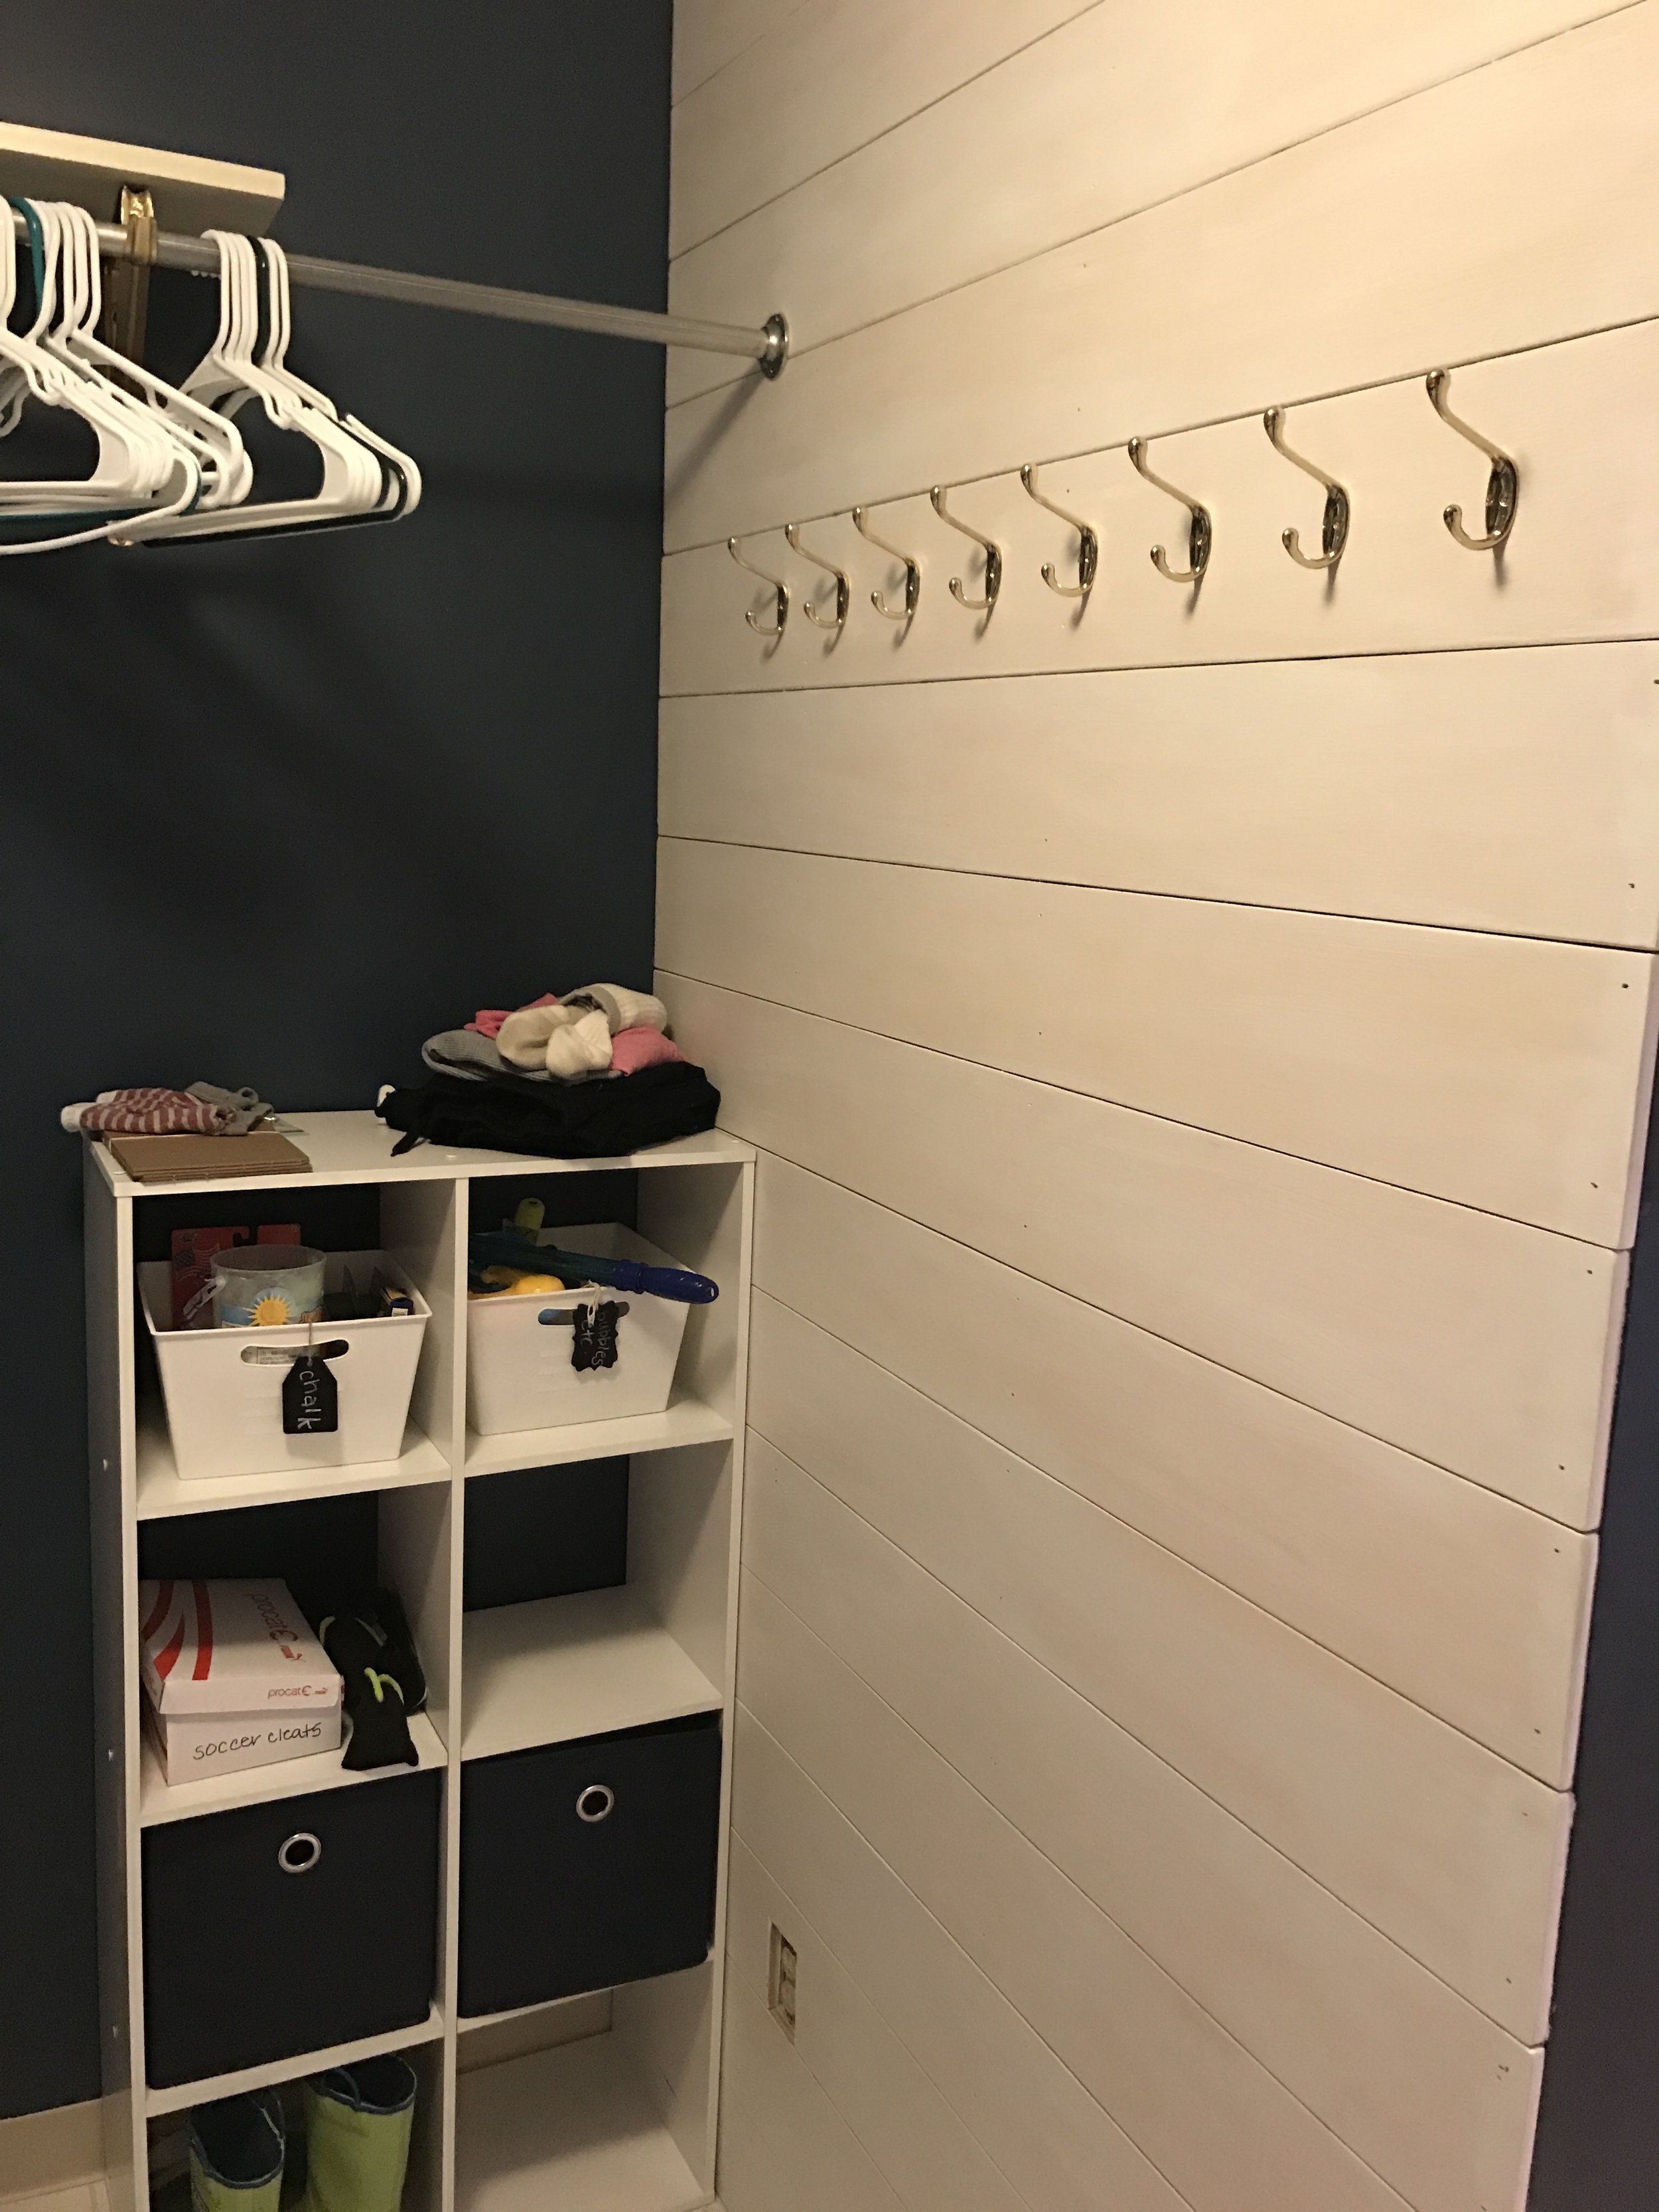
Once I tried shiplap in my home I knew I wanted to do it again. Since we first attempted it in our laundry room, I wanted to put it in a place that was more visible for us to enjoy on a regular basis.
You can read about my laundry room makeover here.
We put it up in our kids bathroom that doubles as the guest bathroom and I was very happy with it. Check out the photos below. I totally plan on updating the sink/counter/cabinet area and the tub in this bathroom, but we have so many projects to tackle that it has moved down a little on the list. For the record I despise the current cabinet, but it's functional so it has survived for the time being.
I also replaced the builder grade mirror in this bathroom with some cool round mirrors from Target. You can find them here.
Once we opened up the sunroom this year, I knew it was time to update the wall that the sunroom faces towards the house. It is really the only wall that room since the other walls are all windows. It was this dreadful rose/pink/beige color. (Really, what IS THAT color?) I am not even sure what is even going on with this wall in general. It was rough wood. I just don't get it at all.
Before. Just no.
So having done shiplap, I knew it was an easy way to update the look. It looks so much better, and so much more consistent with the way we have updated and decorated the house.
After!
DIY Shiplap!
- Measure your space, figure out how many whole plywood boards it will take to cover the space.
- Order the plywood.
- For our laundry room we ordered two half inch plywood boards (the ceiling is room is 8ft tall)
- For the sunroom we ordered four of the same plywood boards. (10 ft tall ceiling)
- Ask the lumber seller to cut it into your desired size of boards.
- Home Depot will cut these for your if you ask. I would imagine any place you buy boards would do the same. Leave enough time for them to cut the boards (like overnight.)
- Side bar: Make sure you ask them to cut WITH the grain. We had a really bad experience when we were doing our floors. We had to have them re-cut and we wasted three hours on this fiasco.
- For the laundry room we chose 6 inch strips that went the length of the wall.
- For the sunroom we did 8 inches by four feet.
- Next, make sure the boards fit.
- Sand the boards to get them to your desired texture.
- Next we painted the edges of the shiplap. We knew that they would lay up against the freshly painted blue wall and we didn't want to get white paint all over it. We didn't worry about this with other rooms but it was a good idea.
- Start at either the top or the bottom depending on which is more important to you that it look even. You may end up with a situation where you have to cut off an inch on either the top or bottom. Just think ahead and plan where you want the smaller row to be.
- Space out the boards using a coin of some kind. For smaller walls I would use a penny. For bigger walls I would a nickel, especially if you plan to paint it last. Don't skip this step or it will look terrible!
- Nail them in! Fortunately, our awesome neighbor has a nail gun and lets us borrow it when we are working on a project.
- In other projects we have repainted or stained the nail holes. Here, I like the look of the holes. I think they look rustic and authentic.
- Finally, lay on the paint.
It's a fun and easy way to give a room a quick and easy makeover. If you are considering it you should go for it! Just remember that coin space in between. Terry forgot to space them out once and he had to rip them off and re-nail them.
Let me know if you have questions!


